
Regal Kitchen Pro Bread Maker K6743 Manual: Comprehensive Guide
This manual provides detailed instructions for operating your Regal Kitchen Pro Bread Maker K6743, ensuring optimal performance and delicious results.
Explore features, recipes, and troubleshooting tips for a seamless baking experience.
Welcome to the world of homemade bread! The Regal Kitchen Pro Bread Maker K6743 simplifies the baking process, delivering fresh, flavorful loaves with ease. This appliance is designed for versatility, offering pre-programmed settings and customizable options to suit your preferences.
This manual serves as your comprehensive guide, walking you through each step – from initial setup and safety precautions to mastering various bread recipes and maintaining your bread maker. Prepare to enjoy the aroma and taste of freshly baked bread, tailored to your exact liking!
Unboxing and Component Identification
Carefully unpack your Regal Kitchen Pro K6743 and verify all components are present. You should find the bread maker unit itself, a non-stick bread pan, a kneading blade, a measuring cup (typically for liquids), and a measuring spoon (for dry ingredients like yeast).
Inspect each item for any damage. Familiarize yourself with the bread pan’s handle and the kneading blade’s attachment point. Retain the packaging for potential future transport or warranty claims. A quick inventory ensures a smooth start to your baking journey!
Safety Precautions and Important Warnings
Always unplug the Regal Kitchen Pro K6743 before cleaning or when not in use. Never immerse the appliance in water or any other liquid. Avoid touching hot surfaces, like the bread pan or heating element, during or immediately after operation – use oven mitts!
Ensure the power cord isn’t damaged and keep it away from heat sources. Do not operate the appliance with an extension cord. Supervise children when the bread maker is in use. Improper use could result in electric shock or injury.

Understanding the Control Panel
The K6743’s control panel features intuitive buttons and a clear display. This section details each function, indicator, and setting for effortless operation and customization.
Detailed Explanation of Buttons and Functions
The Regal Kitchen Pro K6743 control panel boasts several key buttons. “Menu” selects pre-programmed settings like Basic, Whole Wheat, and French bread. “Crust Color” adjusts the desired browning level – Light, Medium, or Dark.
“Start/Stop” initiates or halts the bread-making cycle. The “Delay Timer” allows for convenient scheduling, ensuring fresh bread is ready when you are.
“Size” selects loaf capacity (1.5lb or 2lb). Finally, the “Adjust” buttons fine-tune settings within each program, offering personalized control over your baking process. Understanding these functions unlocks the full potential of your bread maker.
Display Screen Indicators and Meanings
The Regal Kitchen Pro K6743’s display screen provides crucial information during operation. “Knead” indicates the dough mixing phase. “Rise” signifies the proofing stage, allowing the dough to expand. “Bake” shows the baking process is underway.
A colon (:) represents remaining time in the current cycle. “Delay” illuminates when the timer function is active. Error codes, such as “E1” or “E2”, signal potential issues requiring troubleshooting.
The clock display shows the current time, while program indicators highlight the selected bread-making setting.
Setting the Clock and Timer
To set the clock on your Regal Kitchen Pro K6743, press the “Hour” and “Minute” buttons to adjust the time. Confirm by pressing “Start/Stop”. Utilizing the delay timer allows for freshly baked bread in the morning. Press “Delay” then set the desired end time using “Hour” and “Minute”.
Ensure sufficient time for the selected bread cycle to complete. Press “Start/Stop” to activate the timer. The display will show a timer icon indicating the delay function is engaged.

Bread Making Basics
Successful bread making relies on precise ingredient measurements and quality. Understanding yeast activation and proper liquid-to-flour ratios are crucial for optimal results.
Ingredient Measurement and Quality
Achieving consistent bread results with your Regal Kitchen Pro K6743 demands accurate ingredient measurements. Utilize dry measuring cups for flour, sugar, and other solids, leveling off with a straight edge. Liquid ingredients should be measured using liquid measuring cups at eye level.
Ingredient quality significantly impacts the final product. Opt for fresh, high-quality flour, active dry yeast, and pure liquids. Stale ingredients can hinder yeast activity and affect bread texture. Properly stored ingredients maintain their potency, ensuring a delightful loaf every time.
Yeast Types and Activation
Your Regal Kitchen Pro K6743 works effectively with both active dry and instant yeast. Active dry yeast requires proofing – dissolving in warm water (105-115°F) with a pinch of sugar for 5-10 minutes until foamy; This confirms viability.
Instant yeast, also known as bread machine yeast, can be added directly to the dry ingredients. Always check the expiration date on your yeast package. Proper activation ensures optimal rising and a light, airy bread texture. Avoid using expired yeast, as it will result in a flat, dense loaf.
Liquid and Flour Ratios for Different Bread Types
Achieving the perfect texture with your Regal Kitchen Pro K6743 relies on correct ratios. For basic white bread, a typical ratio is 1 cup liquid to 3 cups flour. Whole wheat breads require more liquid – approximately 1 cup to 3.5 cups flour – due to the flour’s absorbency.
French bread benefits from a slightly drier dough (around 0.8 cups liquid to 3 cups flour) for a crispier crust. Experimenting slightly is encouraged, but precise measurements yield consistent results.

Using Pre-Programmed Settings
The Regal Kitchen Pro K6743 offers convenient pre-set programs for various bread types, simplifying the baking process and delivering consistently excellent results with ease.
Basic Bread Setting: Step-by-Step Guide
To begin, ensure the bread pan is securely placed inside the machine. Add ingredients in the order recommended: liquids first, then dry ingredients, with yeast last, avoiding direct contact with liquids. Select the “Basic” program on the control panel.
Choose your desired crust color – light, medium, or dark – using the corresponding button. Press “Start” to initiate the bread-making cycle. The machine will automatically handle kneading, rising, and baking.
Once complete, carefully remove the bread pan using oven mitts, as it will be hot. Allow the bread to cool slightly before slicing and enjoying your freshly baked loaf!
Whole Wheat Bread Setting: Adjustments and Tips
Utilizing the “Whole Wheat” setting requires slight adjustments for optimal results. Whole wheat flour absorbs more liquid, so increase the water amount by 1-2 tablespoons. Consider adding a teaspoon of vital wheat gluten to improve the bread’s rise and texture.
Due to the density of whole wheat, a longer kneading time is often beneficial; select a longer cycle if available. Monitor the dough consistency – it should be slightly stickier than white bread dough.
Experiment with honey or molasses for added moisture and flavor!
French Bread Setting: Achieving a Crispy Crust
The “French Bread” setting aims for a classic, crusty loaf. Success hinges on proper hydration and flour choice. Use bread flour with a higher protein content for structure. A slightly wetter dough is crucial – aim for a shaggy, sticky consistency.
For enhanced crust development, consider adding a tablespoon of malt powder or a splash of vinegar to the dough.
Some users find success by briefly spraying the loaf with water before baking. Experiment with the crust color setting for desired darkness!

Customizing Your Bread Recipes
Unleash your creativity! This section details how to adjust recipes, modify settings, and personalize your bread making experience with the K6743 bread maker.
Adjusting Crust Color
The Regal Kitchen Pro K6743 offers three crust color settings: Light, Medium, and Dark. To adjust, press the “Crust Color” button during program selection or while the bread maker is operating. Each press cycles through the available options.
A lighter crust results in a softer texture, ideal for sandwiches. Medium provides a balanced color and texture, suitable for everyday use. Dark delivers a robust, crispy crust, perfect for artisan-style loaves. Experiment to find your preferred setting, considering the recipe and your personal taste. Remember that humidity and ingredient variations can slightly affect the final crust color.
Delay Timer Function: Setting for Fresh Bread in the Morning
The Regal Kitchen Pro K6743’s delay timer allows you to enjoy freshly baked bread whenever you desire. First, add all ingredients to the bread pan. Press the “Delay Timer” button, and use the “Hour” and “Minute” buttons to set the desired finish time.
Ensure the delay time doesn’t exceed 13 hours. Avoid using perishable ingredients like milk or eggs for extended delays. Press “Start” to activate the timer. The bread maker will automatically begin baking at the programmed time, delivering warm bread in the morning!
Adding Fruits, Nuts, and Seeds
Enhance your bread with delightful additions! The Regal Kitchen Pro K6743 features a convenient dispenser for fruits, nuts, and seeds. Add these ingredients during the second kneading cycle, signaled by a beep.
Avoid adding large quantities, as they can interfere with the rising process. Dried fruits work best; chop larger pieces. Nuts and seeds can be added directly to the pan or via the dispenser. Experiment with flavors – cranberries, walnuts, sunflower seeds – to create unique and delicious loaves!

Maintenance and Cleaning
Regular cleaning ensures longevity and hygiene. Always unplug the K6743 before cleaning. Wipe the exterior with a damp cloth and avoid abrasive cleaners for optimal results.
Cleaning the Bread Pan and Kneading Blade
Thorough cleaning of the bread pan and kneading blade is crucial after each use. Remove them carefully, ensuring the unit is unplugged and cooled. Wash both components in warm, soapy water; avoid abrasive scrubbers that could damage the non-stick coating of the pan.
The kneading blade can be particularly challenging to clean due to dough residue. Soaking it in warm water for 10-15 minutes can loosen stubborn bits. Ensure both are completely dry before reassembling and storing. Dishwasher use may be possible – consult the full manual for specifics regarding your K6743 model.
Exterior Cleaning and Care
Maintaining the exterior of your Regal Kitchen Pro K6743 bread maker is simple. Always unplug the appliance and allow it to cool completely before cleaning. Wipe down the housing with a damp, soft cloth. Avoid using harsh chemicals, abrasive cleaners, or excessive water, as these could damage the finish.
For stubborn stains, a mild dish soap solution can be used, followed by a clean, damp cloth to rinse. Ensure no moisture enters the appliance. Regular dusting will keep your K6743 looking its best for years to come.
Troubleshooting Common Issues
If your bread isn’t rising, check the yeast’s expiration date and ensure proper activation. A burning smell often indicates ingredients are stuck to the kneading blade – stop the cycle and remove them. Error codes displayed on the screen require referencing the detailed error code section within this manual.
For a loaf that’s too dense, try increasing the yeast slightly. If the crust is too dark, reduce the crust color setting. Always ensure correct ingredient measurements for optimal results.

Advanced Features
Unlock diverse culinary possibilities! Explore jam and dough settings, gluten-free baking options, and cake-making adaptations with your Regal Kitchen Pro K6743 bread maker.
Jam and Dough Settings: Recipes and Instructions
The K6743 excels beyond bread! Utilize the ‘Jam’ setting for homemade preserves – simply combine fruit, sugar, and pectin, then let the machine work its magic.
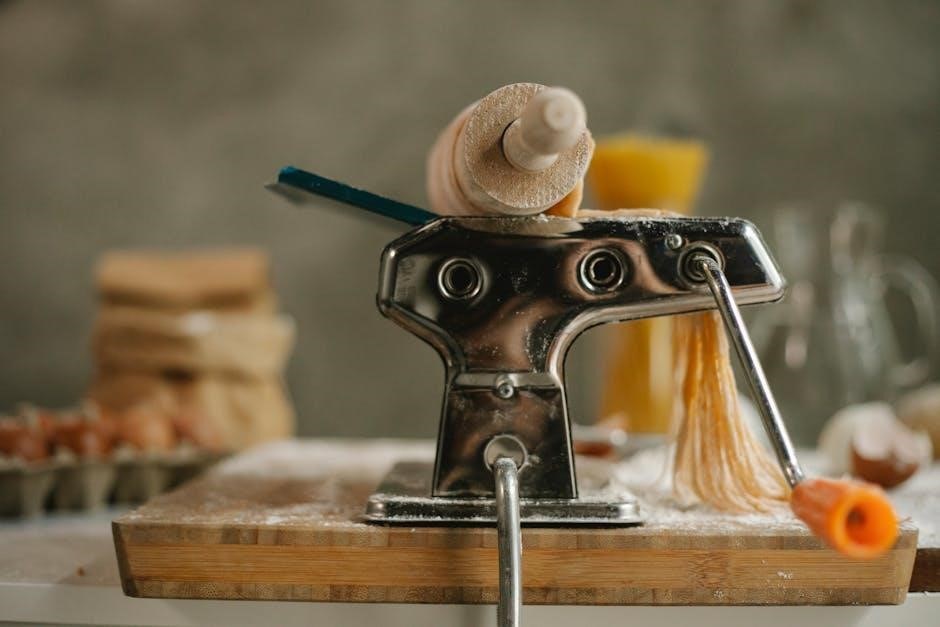
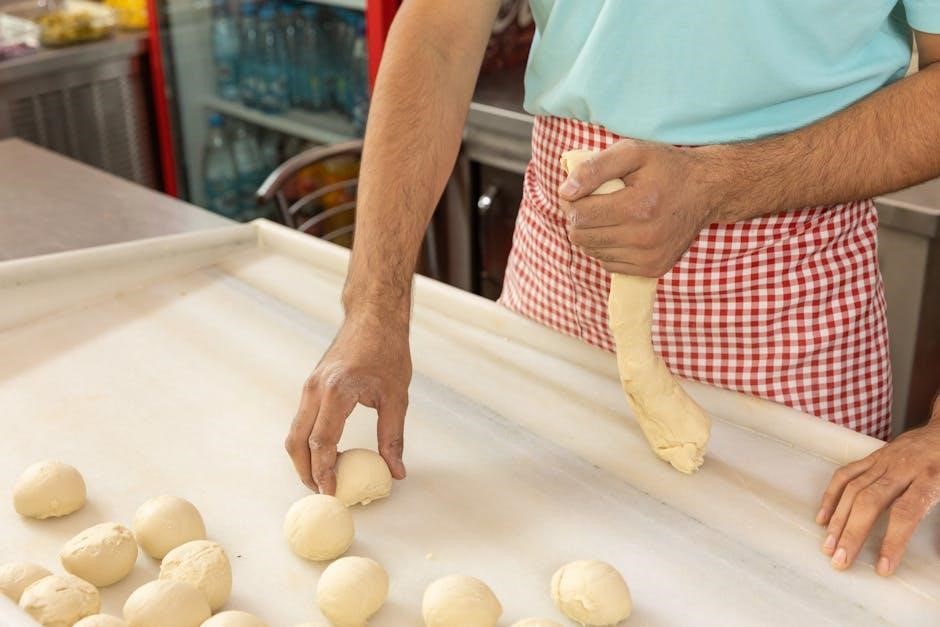
For dough, select the ‘Dough’ cycle; it kneads perfectly for pizza, pasta, or rolls. Remember to adjust ingredient quantities based on your desired consistency.
Experiment with fruit combinations for unique jams, and explore various flour types for diverse dough textures. Always follow recipe guidelines for optimal results, ensuring a delightful homemade experience.
Gluten-Free Bread Making with the K6743
Baking gluten-free is achievable with the K6743! Select the dedicated ‘Gluten-Free’ setting, designed for gluten-free flour blends. These blends often require xanthan gum for structure – follow recipe instructions carefully.
Expect a slightly stickier dough; avoid adding extra flour. Monitor the bread during baking, as gluten-free loaves may brown faster. Experiment with different blends to find your preferred texture and taste. Enjoy delicious, homemade gluten-free bread with ease!
Cake Making Function: Adapting Recipes
The K6743’s ‘Cake’ setting simplifies dessert creation! When adapting recipes, reduce liquid slightly (approximately 20%) as the bread maker retains moisture. Use cake flour for a tender crumb. Ensure ingredients are at room temperature for optimal mixing.
Avoid overfilling the pan – leave at least 1 inch of headspace. Check for doneness with a toothpick; it should emerge clean. Enjoy homemade cakes effortlessly with your Regal Kitchen Pro!
Troubleshooting
This section addresses common issues with your K6743, offering solutions for problems like rising failures, burning smells, and error codes. Resolve issues quickly!
Bread Not Rising: Common Causes and Solutions
Insufficient yeast is a primary culprit; ensure it’s fresh and properly activated. Check the expiration date and test with warm water and sugar. Incorrect liquid-to-flour ratios can also hinder rising – precisely measure ingredients. Old or improperly stored flour may lack gluten development. Cold temperatures slow yeast activity; use lukewarm liquids. Overmixing can damage gluten structure. Finally, verify the heating element is functioning correctly. If issues persist, consult the full manual or customer support for further assistance.
Burning Smell During Baking: Identifying the Problem
A burning smell often indicates ingredients are stuck to the bread pan or kneading blade. Immediately stop the machine, unplug it, and carefully inspect. Excess sugar or oil can caramelize and burn. Too much flour clinging to the sides can also cause this. Ensure proper ingredient measurement. Check the heating element for any visible damage. If the smell persists after cleaning and verifying ingredients, discontinue use and contact Regal Kitchen Pro customer support for professional assessment and guidance.
Error Codes and Their Meanings
The K6743 displays error codes to indicate specific issues. “Err 1” suggests a power interruption during operation; restart the machine. “Err 2” signifies a faulty temperature sensor – contact support. “Err 3” indicates a stuck kneading blade; carefully remove it. “Err 4” means the lid wasn’t securely closed. “Err 5” suggests an overheating issue; unplug and let cool. Refer to the full error code list in the appendix for comprehensive troubleshooting steps and contact Regal support if problems persist.
Recipes
Discover a variety of delicious bread recipes optimized for your K6743! From classic white to cinnamon raisin, enjoy easy-to-follow instructions for perfect loaves every time.
Classic White Bread Recipe
Yields: 1 loaf (approximately 1.5 lbs)
Prep time: 10 minutes
Cook time: 3 hours 30 minutes (including rise time)
Ingredients: 3 cups bread flour, 1 ¼ cups warm water (105-115°F), 2 ¼ teaspoons active dry yeast, 1 tablespoon sugar, 1 ½ teaspoons salt, 2 tablespoons softened butter.
Instructions: Add ingredients to the bread pan in the order listed. Select the “Basic” setting on your K6743. Choose a 1.5 lb loaf size and a light crust color. Press start. Once the cycle is complete, carefully remove the loaf and let cool completely before slicing and enjoying this timeless classic!
Honey Wheat Bread Recipe
Yields: 1 loaf (approximately 1.5 lbs)
Prep time: 15 minutes
Cook time: 3 hours 30 minutes (including rise time)
Ingredients: 2 cups bread flour, 1 cup whole wheat flour, 1 ¼ cups warm water, 2 ¼ teaspoons active dry yeast, 2 tablespoons honey, 1 ½ teaspoons salt, 2 tablespoons softened butter.
Instructions: Add ingredients to the bread pan in the order listed. Select the “Whole Wheat” setting on your K6743. Choose a 1.5 lb loaf size and a medium crust color. Press start. Enjoy the wholesome goodness of this naturally sweetened bread, perfect for sandwiches or toast!
Cinnamon Raisin Bread Recipe
Yields: 1 loaf (approximately 1.5 lbs)
Prep time: 20 minutes
Cook time: 3 hours 45 minutes (including rise time)
Ingredients: 2 ¼ cups bread flour, ¼ cup granulated sugar, 2 ¼ teaspoons active dry yeast, 1 cup warm milk, ¼ cup melted butter, 1 teaspoon salt, ½ cup raisins, 2 teaspoons cinnamon, ¼ cup brown sugar.
Instructions: Combine all ingredients in the bread pan, ensuring the yeast doesn’t touch the liquid initially. Select the “Sweet” setting on your K6743. Choose a 1.5 lb loaf and a medium crust. Press start and savor a warm, comforting slice!
Warranty Information and Support
Your Regal Kitchen Pro K6743 is covered by a one-year limited warranty against manufacturing defects. Contact customer support for assistance or replacement parts.
Regal Kitchen Pro Warranty Details
The Regal Kitchen Pro K6743 bread maker warranty covers defects in materials and workmanship for one year from the original purchase date. This warranty doesn’t cover damage from misuse, accidents, or unauthorized repairs.
Proof of purchase is required for all warranty claims. We will, at our discretion, repair or replace the defective unit.
This warranty gives you specific legal rights, and you may have other rights which vary by location. To initiate a claim, please contact our customer support team with your purchase details and a description of the issue.
Contacting Customer Support
For assistance with your Regal Kitchen Pro K6743 bread maker, our dedicated support team is readily available. You can reach us via phone at 1-800-REGAL-PRO (1-800-734-2577) during business hours, Monday to Friday, 9 AM to 5 PM EST. Alternatively, email us at support@regalkitchenpro.com, and we will respond within 24-48 hours.
Visit our website, www.regalkitchenpro.com, for FAQs and online resources. Please have your model number and purchase date available when contacting support for efficient assistance.
Finding Replacement Parts
Genuine Regal Kitchen Pro K6743 replacement parts ensure continued optimal performance. Visit our official website, www.regalkitchenpro.com/parts, to browse available components like kneading blades, bread pans, and heating elements. You can also contact our customer support team at 1-800-REGAL-PRO for assistance locating specific parts.
Third-party retailers may offer compatible parts, but Regal Kitchen Pro recommends using genuine parts to maintain warranty validity and appliance safety.