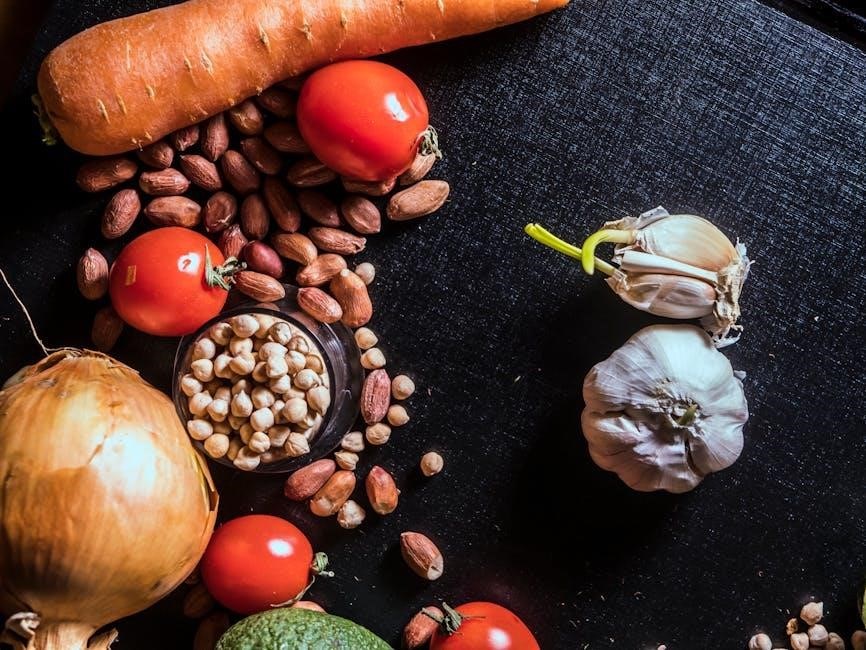
Garlic planting is a rewarding endeavor, offering flavorful results for culinary enthusiasts! Choosing a sunny spot and preparing the soil are key steps.
From fall planting to enjoying homegrown bulbs, this planting guide will help you cultivate a successful garlic patch, enhancing your dishes with fresh flavor.
Why Grow Your Own Garlic?
Growing your own garlic offers a multitude of benefits, extending far beyond simply saving money at the grocery store. The flavor of freshly harvested, homegrown garlic is undeniably superior – bolder, more complex, and intensely aromatic compared to store-bought varieties.
You gain complete control over the growing process, avoiding potential pesticide use and ensuring organic practices. Plus, cultivating garlic is surprisingly easy, requiring minimal space and effort, making it perfect for beginner gardeners.
Having a readily available supply of garlic enhances your culinary creations, allowing you to experiment with different varieties and enjoy the satisfaction of a truly homegrown ingredient. It’s a flavorful and fulfilling gardening experience!
Garlic Varieties: Hardneck vs. Softneck
Garlic primarily falls into two categories: Hardneck and Softneck, each possessing unique characteristics influencing growth and storage. Hardneck varieties, known for their central stalk (scape), thrive in colder climates and offer robust, complex flavors. They produce fewer, larger cloves and are ideal for roasting.
Softneck garlic, conversely, lacks a hard stalk and prefers milder winters. It produces numerous smaller cloves, making it excellent for braiding and long-term storage. Softneck varieties are commonly found in supermarkets.
Choosing the right variety depends on your climate and intended use. Fall-planted garlic generally benefits from being a hardneck, while milder climates suit softneck types. Consider your culinary preferences when selecting!
Preparing for Planting
Soil preparation is crucial for successful garlic growth! Digging trenches and incorporating organic matter, like compost, creates an ideal environment for healthy bulbs.
Choosing the Right Soil
Garlic thrives in well-drained, moisture-retentive soil, ensuring the bulbs don’t sit in waterlogged conditions which can lead to rot. Avoid heavy clay soils that retain too much moisture, and sandy soils that drain too quickly, lacking essential nutrients.
Loamy soil, a balanced mix of sand, silt, and clay, is ideal. Before planting, assess your garden’s soil composition. If your soil is less than ideal, amending it with organic matter is essential.
Poorly draining soil or areas near legume crops should be avoided. Containers should be at least 6-8 inches deep to accommodate bulb development. Selecting the right soil sets the foundation for a bountiful harvest!
Soil pH Requirements for Garlic
Garlic flourishes within a specific soil pH range, ideally between 6.0 and 7.0 – slightly acidic to neutral conditions. This range optimizes nutrient availability, allowing the plants to readily absorb essential elements for healthy growth and robust bulb development.
Testing your soil pH before planting is crucial. A simple soil test kit from a garden center will provide accurate results. If the pH is too acidic (below 6.0), adding lime will raise it. Conversely, if it’s too alkaline (above 7.0), sulfur can lower the pH.
Maintaining the correct soil pH is fundamental for maximizing yields and ensuring flavorful, high-quality garlic bulbs. Avoid very alkaline soils, as they hinder nutrient uptake.
Adding Organic Matter to the Soil
Garlic thrives in rich, well-drained soil, and incorporating ample organic matter is paramount for success. This improves soil structure, drainage, and fertility, creating an ideal environment for bulb development.
Before planting, generously amend your soil with compost, well-rotted manure, or leaf mold. These materials not only provide essential nutrients but also enhance water retention and aeration. Sheep manure is particularly beneficial, offering a slow-release nutrient source.
Digging in organic matter also encourages beneficial microbial activity, further boosting soil health. Aim for a soil that is loose and crumbly, allowing garlic roots to easily penetrate and access nutrients.
Planting Garlic
Planting garlic involves selecting cloves and preparing trenches a few inches deep. Fall planting, between October and November, is ideal for larger bulbs!
Proper spacing and depth are crucial for optimal growth and a bountiful harvest of this flavorful ingredient.
Optimal Planting Time (Fall vs. Spring)
Determining the best time to plant garlic – fall versus spring – significantly impacts bulb size and overall yield. Generally, fall planting, typically between October 1st and November 15th, is highly recommended, especially for hardneck varieties. This allows the cloves ample time to establish roots before the ground freezes, resulting in larger, more flavorful bulbs the following summer.
However, spring planting is an option, particularly in regions with harsh winters or for softneck garlic. If planting in spring, use pre-sprouted cloves in early spring as soon as the ground can be worked. Keep in mind that spring-planted garlic will likely produce smaller bulbs compared to those planted in the fall, and the maturation period may be extended. The biggest and best-tasting garlic is usually achieved through fall planting.
Consider your local climate and garlic variety when making this crucial decision!
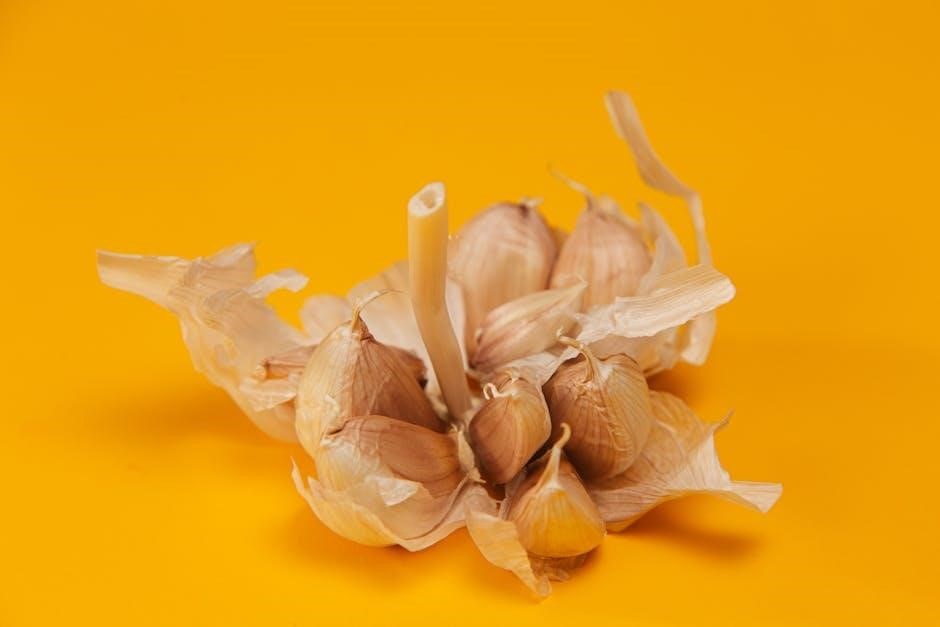
How to Plant Garlic Cloves
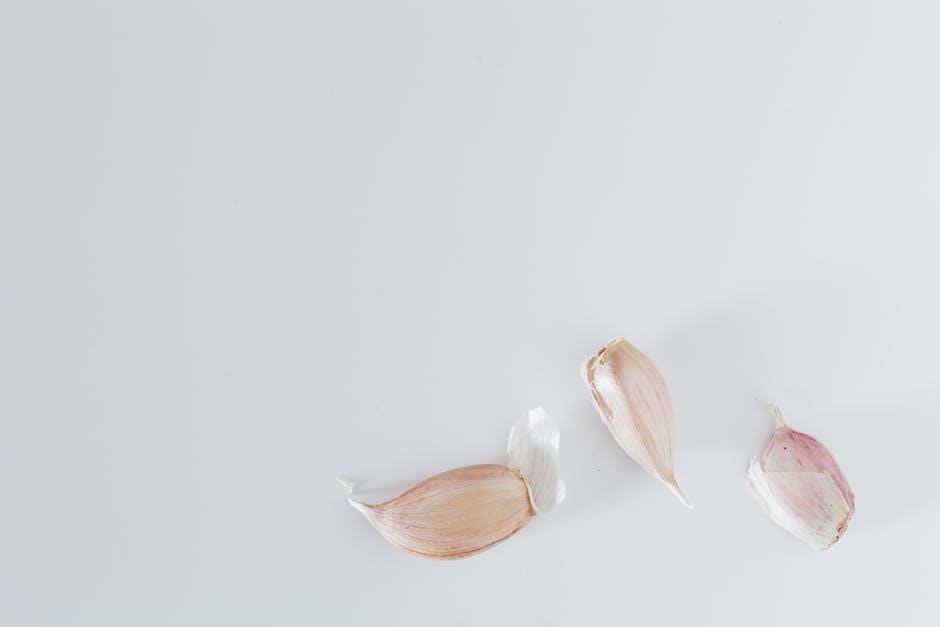
Planting garlic cloves correctly is essential for a bountiful harvest. Begin by digging a trench a few inches deep for each row. Gently separate the cloves from the bulb, leaving the papery skin intact on each clove – this protects against drying out and disease.
Place the cloves into the trench, ensuring the pointy side faces upwards. Space the cloves approximately 6-8 inches apart within the row. Once all cloves are positioned, carefully cover them with soil, gently firming the surface. Avoid compacting the soil too much, as this can hinder growth.
Water the planted area thoroughly to settle the soil and encourage root development. Proper planting depth and orientation are key to successful garlic growth!
Spacing and Depth for Garlic Planting
Optimal spacing and depth are crucial for healthy garlic development. When planting, aim for a spacing of 6 to 8 inches between individual cloves within a row. Rows themselves should be spaced approximately 12 inches apart, allowing sufficient room for bulb expansion.
Regarding depth, plant garlic cloves approximately 2 to 3 inches below the soil surface. Planting too shallowly can expose the cloves to temperature fluctuations and potential damage, while planting too deeply may hinder emergence.
Avoid planting in areas with poorly draining soil or containers less than 6-8 inches deep. Consistent spacing and appropriate depth contribute significantly to maximizing bulb size and overall yield.
Pointy Side Up or Down?
A common question among garlic growers is whether to plant cloves pointy side up or down. While there’s debate, the consensus is that it generally doesn’t matter significantly! The clove will naturally orient itself to grow upwards, regardless of initial planting direction.
However, many gardeners prefer planting with the pointy side up, believing it encourages easier sprout emergence. Dig a trench and plant the garlic cloves pointy side up, ensuring the root end is facing downwards into the soil.
Focus more on consistent depth and spacing for optimal results. Don’t stress over perfect orientation; garlic is remarkably adaptable and will thrive with proper care.
Garlic Care After Planting
Post-planting, consistent watering, strategic fertilizing, and diligent weed control are crucial for healthy garlic growth and robust bulb development.
These practices ensure a bountiful harvest of flavorful garlic, rewarding your gardening efforts with culinary delight.
Watering Garlic
Garlic requires consistent moisture, especially during the spring when bulbs are actively forming. Maintaining evenly moist soil is vital, but avoid overwatering, which can lead to rot.
Generally, aim for approximately one inch of water per week, adjusting based on rainfall and soil drainage. During dry spells, supplemental watering is essential.
Reduce watering as the garlic approaches maturity in late spring and summer, as this encourages bulb development and prevents cracking. Mulching around the plants helps retain moisture and suppress weeds, further simplifying watering efforts.
Consistent moisture levels contribute significantly to larger, healthier bulbs and a more successful garlic harvest.
Fertilizing Garlic
Garlic benefits from fertile soil, and while adding organic matter during planting is crucial, supplemental fertilizing can boost growth. A balanced fertilizer applied in early spring, as shoots emerge, provides essential nutrients.
Look for a fertilizer with a higher nitrogen content to promote leafy growth, but avoid excessive nitrogen late in the season, as this can hinder bulb development.
Side-dressing with compost or well-rotted manure throughout the growing season provides a slow-release source of nutrients.
Phosphorus and potassium are also important for bulb formation, so consider a fertilizer blend that includes these elements. Avoid over-fertilizing, as this can negatively impact flavor and storage quality.
Weed Control in Garlic Patches
Garlic, especially when young, doesn’t compete well with weeds, making diligent weed control essential for a successful harvest. Regular cultivation – carefully hoeing or hand-pulling – is the most effective method.
Mulching around the plants with straw, shredded leaves, or wood chips suppresses weed growth, conserves moisture, and moderates soil temperature.
Avoid using herbicides in your garlic patch, as they can harm the developing bulbs.
Consistent weed control throughout the growing season ensures that your garlic receives adequate sunlight, nutrients, and water, leading to larger, healthier bulbs. Prompt removal prevents weeds from setting seed and spreading.
Pest and Disease Management
Garlic can face pests and diseases; vigilance is key! Monitoring plants regularly helps detect issues early, ensuring a healthy and bountiful garlic harvest.
Common Garlic Pests
Several pests can trouble garlic crops, impacting bulb development and overall yield; Onion maggots are a significant concern, laying eggs near the plant base, with larvae tunneling into the bulbs causing rot. Nematodes, microscopic worms, can also infest roots, stunting growth and reducing quality.
Thrips, tiny flying insects, feed on leaves, causing silvery streaks and distorted growth. Garlic can also be affected by mites, which suck plant juices, weakening the plant. Regularly inspecting plants for signs of infestation – such as leaf damage, wilting, or unusual growths – is crucial for early detection.
Implementing preventative measures like crop rotation, companion planting (marigolds deter nematodes), and maintaining good garden hygiene can minimize pest pressure. Organic insecticides, like neem oil, can be used for mild infestations, but always follow label instructions carefully.
Common Garlic Diseases
Garlic, while relatively resilient, can be susceptible to several fungal and bacterial diseases. White rot is a particularly devastating soilborne fungus, causing white mycelium on roots and bulbs, leading to plant death. Another concern is basal rot, also fungal, causing soft, mushy bulbs and a foul odor.
Downy mildew manifests as yellow spots on leaves, eventually turning brown, while purple blotch creates purple lesions. Bacterial soft rot can occur during wet weather, causing bulbs to decay. Proper air circulation, well-drained soil, and avoiding overcrowding are vital preventative measures.
Disease-free planting stock is essential. Remove and destroy any infected plants immediately to prevent spread. Copper-based fungicides can offer some protection, but are best used preventatively and according to label directions.
Harvesting Garlic
Garlic is typically harvested when the lower leaves begin to brown and die, around 250-270 days after planting. Gently lift bulbs from the soil!
When to Harvest Garlic
Determining the optimal harvest time for your garlic is crucial for maximizing bulb size and flavor. Generally, garlic is ready for harvest in late summer, typically from July to August, roughly 250-270 days after planting. A key indicator is the condition of the leaves.
Look for the lower leaves to begin turning brown and drying out, while the upper leaves remain green and vibrant. Don’t wait until all the leaves are completely brown, as this suggests the bulbs may have started to split and won’t store as well.
For hardneck varieties, scapes (the curly flower stalks) should have already been removed. Softneck varieties don’t produce scapes, so focus on leaf color. Checking a test bulb by carefully digging one up can confirm readiness – if it feels full and has well-defined cloves, it’s time to harvest!
How to Harvest Garlic
Harvesting garlic requires a gentle approach to avoid damaging the bulbs. Use a garden fork or spade to carefully lift the garlic plants, starting several inches away from the stem to prevent piercing the bulbs. Gently loosen the soil around the bulbs and lift them upwards.
Avoid pulling directly on the stems, as this can cause the bulbs to separate. Once lifted, shake off the excess soil, but avoid washing them at this stage. Handle the bulbs with care, as bruising can affect their storage life.
Inspect each bulb for any signs of damage or disease. Leave the roots and necks intact for now – these will be trimmed during the curing process. Gather the harvested bulbs and prepare them for curing to ensure long-term storage.
Curing and Storing Garlic
Curing garlic involves drying the harvested bulbs in a well-ventilated, shaded area for several weeks, ensuring long-term storage and preserving flavor.
Proper storage in a cool, dark, and dry place will maintain quality, allowing you to enjoy your homegrown garlic throughout the year.
Curing Garlic for Long-Term Storage
Curing garlic is a crucial step after harvesting, significantly impacting its storage life and flavor. Immediately after digging, gently brush off excess soil, but avoid washing the bulbs.
Spread the garlic plants (with the tops still attached) in a single layer on screens, racks, or even old window screens in a well-ventilated, dry, and shaded location. Good airflow is paramount to prevent mold and rot.
Ideal curing temperatures range between 60-80°F (15-27°C) with low humidity. Curing typically takes 3-4 weeks, indicated by fully dried necks and papery skins. Once cured, trim the roots and cut the tops to about 1-2 inches.
Properly cured garlic can be stored for several months, providing a delicious addition to your culinary creations throughout the year!
Proper Garlic Storage Techniques
Storing garlic correctly after curing is essential for maintaining its quality and preventing spoilage. The ideal storage environment is cool, dry, and dark, with good air circulation. Avoid storing garlic in airtight containers, as this can promote mold growth.
Braiding the garlic stalks and hanging them is a traditional and effective method, allowing for excellent airflow. Alternatively, place bulbs in a mesh bag or loosely in a paper bag. Avoid plastic bags!
A temperature range of 60-65°F (15-18°C) is optimal. Do not refrigerate whole garlic bulbs, as this can stimulate sprouting. However, peeled cloves can be stored in the refrigerator for a short period.
Regularly inspect stored garlic and discard any bulbs showing signs of softness, mold, or sprouting to prevent issues from spreading.
Growing Garlic Indoors
Indoor garlic cultivation requires chilling cloves and well-draining soil. Ample bright light is crucial for successful growth, yielding fresh greens and bulbs year-round.
Chilling Garlic Cloves for Indoor Planting
Garlic cloves destined for indoor planting require a period of cold stratification, mimicking winter conditions to stimulate growth. This chilling process is essential for breaking dormancy and encouraging sprouting.
To properly chill your cloves, place them in a breathable container – a paper bag works well – and store them in the refrigerator for 4 to 6 weeks. A temperature between 40°F and 50°F (4°C and 10°C) is ideal.
Avoid plastic bags, as they can trap moisture and lead to mold. After the chilling period, you’ll notice small green shoots emerging from the cloves, indicating they are ready for planting. This pre-treatment significantly improves your chances of a successful indoor garlic harvest.
Light and Soil Requirements for Indoor Garlic
Successful indoor garlic cultivation hinges on providing adequate light and a suitable growing medium. Garlic requires at least 6-8 hours of direct sunlight daily. A south-facing window is often ideal, but supplemental grow lights may be necessary, especially during shorter winter days.
Regarding soil, well-draining soil is paramount to prevent bulb rot. A potting mix formulated for vegetables, or a blend of potting soil, perlite, and compost, works exceptionally well. Ensure the container has drainage holes to allow excess water to escape.
Avoid heavy clay soils, as they retain too much moisture. Consistent moisture, but not waterlogging, is key for healthy growth and bulb development.